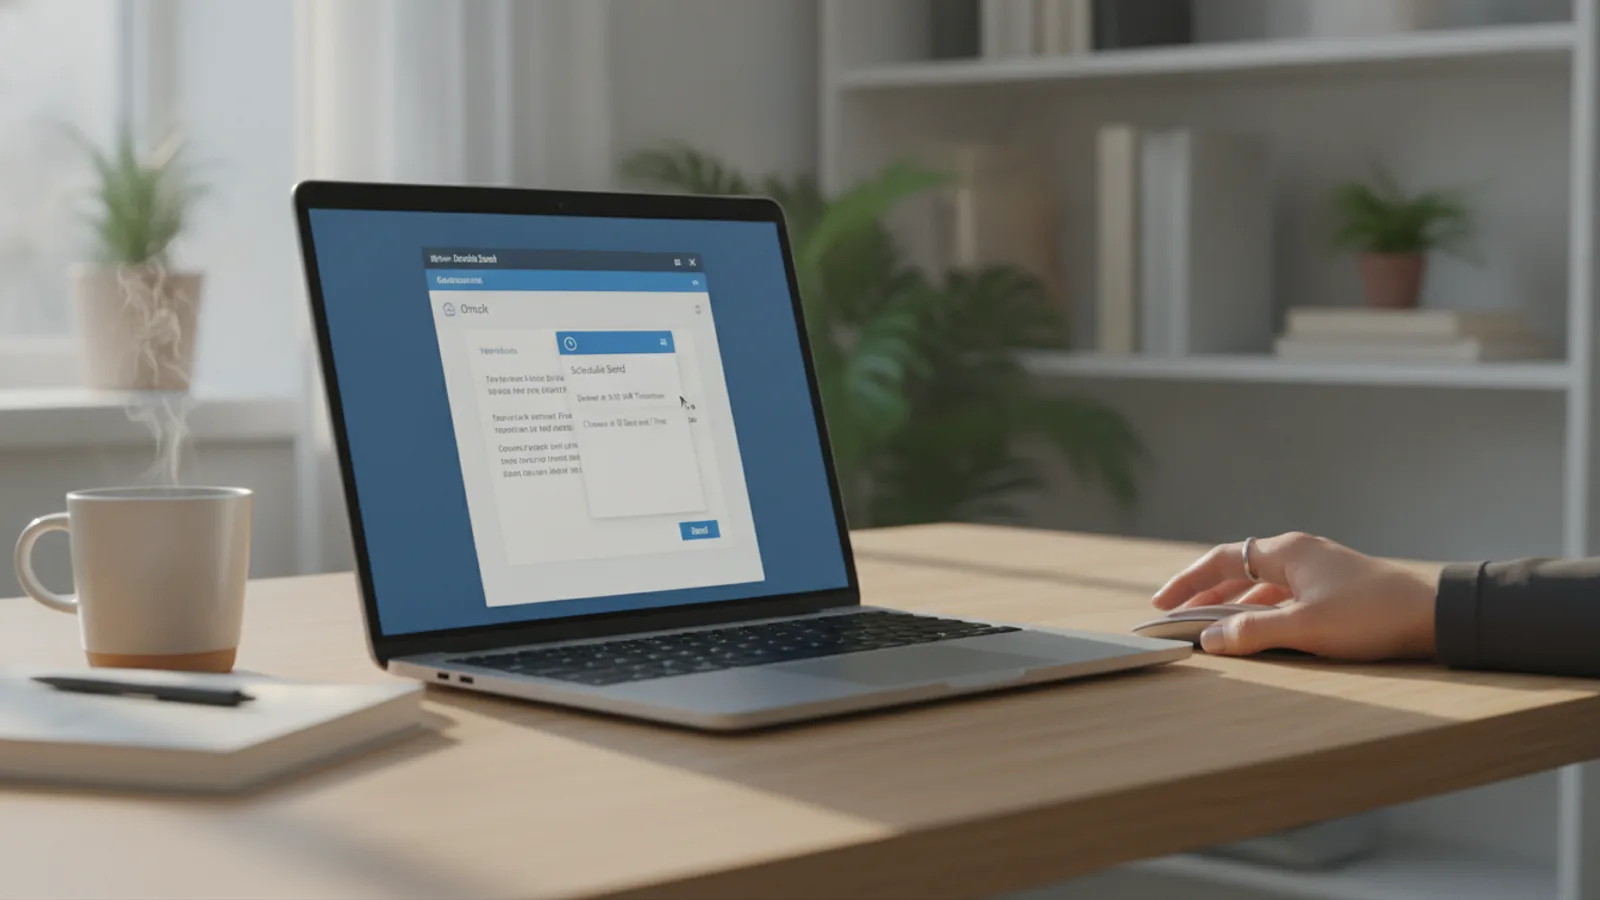
How To Save Email Templates In Outlook
A practical step-by-step guide to how to save email templates in outlook, including preparation, instructions, common issues, tips, and next steps.

How To Save Email Templates In Outlook
Saving email templates in Outlook allows you to quickly send out common messages without typing them repeatedly. This guide will show you exactly how to create, save, and use these templates, saving you valuable time in your daily email tasks. It's especially helpful for recurring messages like customer service replies, status updates, or standard requests, ensuring consistency and efficiency every time you communicate.
Fast Answer
- Main Action: Save As Outlook Template (.oft)
Before You Start
- Microsoft Outlook: Ensure you have the Outlook desktop application installed and running on your computer. While web versions of Outlook offer some similar features, this guide focuses on the full desktop program for comprehensive template saving.
- Your Email Content Ready: Have the full text of the email you wish to save as a template prepared. This includes the subject line, body text, any standard attachments (though these are not saved directly into a .oft template), and signature details.
- Basic Computer Skills: You should be comfortable with navigating menus, saving files, and using a text editor.
Step-by-Step Instructions
1. Create a New Email Message
The first step to saving an email template is to open a new email message window in Outlook. This is where you will compose the content for your template.
To do this, open your Outlook application. In the top-left corner of the Outlook window, you will typically find a button labelled "New Email" or "New Message". Click on this button. A fresh, blank email message window will pop up. This new window is where you'll begin crafting your reusable message.
2. Compose Your Template Content
Now that you have a new email window open, it's time to write the content that you want to save as your template. Think about the common emails you send and what consistent information they contain. This will form the core of your template.
- Subject Line: Fill in a clear and descriptive subject line. This is important because it will be automatically populated when you use the template later. For example, "Follow-up on your recent enquiry" or "Meeting Confirmation".
- Body Text: Write the main message. Include all the standard text, greetings, and closings you typically use. You can also add placeholders for information that will change each time you use the template, such as "[Client Name]", "[Date]", or "[Specific Details]". This reminds you what to customise.
- Formatting: Apply any necessary formatting like bold text, italics, bullet points, or numbering. These will be saved as part of the template.
- Signature: Your default Outlook signature will usually be added automatically. If you want a specific signature for this template, ensure it's present.
Avoid adding specific recipient email addresses (To, Cc, Bcc) at this stage, unless they are always the same. Generally, templates are designed to be flexible for different recipients.
3. Save Your Email as an Outlook Template (.oft)
Once your email content is complete and formatted exactly how you want it, you need to save it as an Outlook Template (.oft file). This is the specific file type that Outlook recognises as a reusable template.
In the open email message window:
- Click on the "File" tab in the top-left corner. This will open the Backstage view.
- From the left-hand menu, select "Save As".
- A "Save As" dialogue box will appear. You need to choose where to save your template and, most importantly, the correct file type.
- In the "Save as type:" drop-down menu, click on it and select "Outlook Template (*.oft)". This is crucial for Outlook to recognise it as a template.
- Outlook will automatically suggest a default folder for templates, usually something like C:\Users\[YourUsername]\Documents\Outlook Templates. It's generally a good idea to save your templates here as Outlook can find them easily, but you can choose another location if you prefer, as long as you remember where it is.
- Give your template a clear and memorable "File name". This name is what you will see when you go to use the template later. For instance, "Meeting Confirmation Template" or "Customer Support Follow-up".
- Finally, click the "Save" button.
Your template is now saved and ready to be used whenever you need it.
4. Locate and Open Your Saved Template
Now that your template is saved, you'll want to know how to find and open it when you need to send an email. There are a couple of common ways to do this, depending on your Outlook version and preference.
Method 1: Using "New Items" Menu (Recommended)
This is often the quickest and most integrated way to open templates within Outlook:
- From the main Outlook window, go to the "Home" tab in the ribbon.
- Look for the "New Items" button. Click on the small arrow or drop-down part of this button to reveal more options.
- Hover over "More Items".
- Then, select "Choose Form...".
- A "Choose Form" dialogue box will appear. In the "Look In:" drop-down menu at the top, select "User Templates in File System".
- You should now see a list of all the Outlook Templates (.oft files) you have saved in Outlook's default templates folder.
- Select the template you wish to use from the list and click "Open".
A new email message will open, pre-filled with all the content you saved in your template.
Method 2: Directly Opening the .oft File
If you saved your template in a custom location, or just prefer to browse for it:
- Navigate to the folder where you saved your .oft file using Windows File Explorer.
- Double-click on the .oft file.
This will also open a new email message in Outlook with your template content.
5. Customise and Send Your Email
Once you've opened your template, a new email message window will appear, already populated with your subject line, body text, and any formatting or signatures you included. This is now a regular email message, not the template itself, so any changes you make will only affect this specific email you are about to send.
- Add Recipients: Fill in the "To," "Cc," and "Bcc" fields with the appropriate email addresses.
- Customise Content: Replace any placeholder text (e.g., "[Client Name]", "[Specific Details]") with the specific information for the current recipient. Make any other necessary adjustments to the text.
- Add Attachments: If you need to include any files, click the "Attach File" button and select them. Remember, attachments are not saved within the .oft template itself.
- Review: Always take a moment to review the entire email before sending. Check for typos, correct names, and ensure all personalised information is accurate.
- Send: Once you are satisfied with the email, click the "Send" button.
Your original template file remains untouched, ready for you to use again and again.
6. Using Quick Parts for Smaller, Reusable Content Blocks
While Outlook templates (.oft files) are excellent for full email messages, sometimes you only need to reuse smaller chunks of text, like a specific paragraph, a closing statement, or a disclaimer. This is where Quick Parts come in handy. Quick Parts allow you to save and insert frequently used text snippets, tables, or graphics into any email.
- Compose the Content: In a new email message (or any existing email), type and format the specific piece of text or content you want to save as a Quick Part. For example, a detailed answer to a common question.
- Select the Content: Highlight the entire block of text or content you wish to save.
- Save as Quick Part:
- Go to the "Insert" tab in the email ribbon.
- In the "Text" group, click on "Quick Parts".
- From the drop-down menu, select "Save Selection to Quick Part Gallery...".
- Name Your Quick Part: A "Create New Building Block" dialogue box will appear.
- Give your Quick Part a meaningful "Name" (e.g., "Standard Disclaimer," "Shipping Info Paragraph"). You can also add a description, assign it to a category, and choose where to save it (usually "General" or a new category you create).
- Click "OK".
To Use a Quick Part:
When composing a new email:
- Place your cursor where you want to insert the content.
- Go to the "Insert" tab, then "Quick Parts".
- Click on the name of the Quick Part you want to insert. It will instantly appear in your email.
Quick Parts are stored within Outlook and are available across all your emails, making them very flexible for building messages piece by piece.
Quick Reference
| Situation | Use this | Why |
|---|---|---|
| Saving a full, recurring email message | Save as Outlook Template (.oft) | Creates a new, editable email with pre-filled subject, body, and formatting. |
| Reusing small paragraphs or blocks of text | Quick Parts | Inserts specific text snippets into any email you are composing, flexible building blocks. |
| Want to edit the original template file | Open the .oft file from File Explorer, edit, then Save As (overwrite) | Directly modifies the saved template file for future use. |
| Can't find your saved template | Check the "User Templates in File System" folder via "New Items" > "More Items" > "Choose Form..." | This is Outlook's default location for .oft files and the primary way to access them. |
Common Problems When You Save Email Templates In Outlook
- Template Opens as a Read-Only File or Plain Text:
- Problem: You double-click your saved file, and it opens in a viewer, Notepad, or a new email that isn't editable.
- Fix: This usually means you saved the file with the wrong extension. Ensure you selected "Outlook Template (*.oft)" in the "Save as type" drop-down menu during Step 3. If it was saved as a .msg file or another type, you'll need to create the template again, making sure to choose the correct .oft format. Also, ensure you are opening it correctly via "New Items" > "More Items" > "Choose Form..." or by double-clicking the .oft file directly in File Explorer.
- Can't Find Your Saved Template in Outlook:
- Problem: You followed the saving steps, but when you go to "New Items" > "More Items" > "Choose Form...", your template isn't listed under "User Templates in File System."
- Fix: This often happens if you saved the .oft file to a different folder than Outlook's default templates directory. Outlook usually looks in a specific folder (e.g., C:\Users\[YourUsername]\Documents\Outlook Templates).
- Option 1: Go to the folder where you *think* you saved it using File Explorer and double-click the .oft file there.
- Option 2: Move your .oft file from where you saved it to Outlook's default templates folder. To find this default folder, open a new email, go to "File" > "Save As", and note the path in the "Save As" dialogue box when "Outlook Template (*.oft)" is selected. Then, manually move your .oft file into that directory.
- Attachments Don't Appear in the Template:
- Problem: You attached a file to the email before saving it as a template, but when you open the template, the attachment is gone.
- Fix: This is expected behaviour. Outlook Templates (.oft files) do not save attachments. They are designed to save the body text, subject, and formatting. You will need to manually attach any files each time you use the template. For frequently used attachments, consider storing them in a cloud service (like OneDrive or Google Drive) and simply including a link in your template text, rather than the file itself.
- Signature Issues: Incorrect or Missing Signature:
- Problem: When you open a template, your signature is either wrong, missing, or an old version appears.
- Fix: Outlook templates save the signature that was active when you created the template. If your default signature has changed since then, the old one will be in the template. To fix this, open the template, delete the old signature, insert your current default signature (via the "Insert" tab > "Signature"), and then re-save the template, overwriting the old .oft file.
- Alternatively, you can simply delete the signature from your template entirely and let Outlook automatically insert your *current* default signature when you open the template. This ensures you always have the latest version.
- Template Formatting Changes or Looks Different:
- Problem: The font, colours, or layout of your template look incorrect after opening it.
- Fix: This can sometimes happen due to issues with Outlook's rich text editor or if the template was copied from another source (like a webpage).
- Option 1: Ensure your Outlook's default formatting settings (File > Options > Mail > Compose messages in this format) match what you expect.
- Option 2: Recreate the template, paying close attention to formatting. Use Outlook's built-in formatting tools directly rather than pasting from external sources where possible. If pasting, try pasting as "plain text" first, then reapply formatting within Outlook.
Advanced Tips for How To Save Email Templates In Outlook
- Create a Dedicated Templates Folder: While Outlook has a default folder, you might prefer to organise your templates more granularly. Create subfolders within your main Outlook Templates folder (e.g., "Client Communications," "Internal Memos," "Marketing") to keep your .oft files tidy and easy to find, especially if you have many templates.
- Keyboard Shortcuts for Quick Parts: If you use Quick Parts heavily, you can often start typing the name of a saved Quick Part in your email, and Outlook will suggest it. Press Enter or F3 when the suggestion appears to insert it quickly. This is much faster than navigating menus.
- Templates for Different Scenarios: Don't limit yourself to just one type of template. Create variations for different scenarios:
- Initial Enquiry Response: A welcoming message.
- Follow-up Email: Gentle reminder or additional information.
- Meeting Confirmation: Details about time, date, and agenda.
- Out of Office Replies: More detailed than the standard auto-reply.
- Use Placeholders Effectively: Design your templates with clear placeholders for customisation. Instead of just "[Name]", use "[Recipient's Full Name]" or "[Product Reference Number]" to be highly specific about what information needs to be inserted. Consider using different colours or bolding for placeholders to make them stand out.
- Update Templates Regularly: Review your saved templates every few months. Business information, contact details, or common responses can change. Ensure your templates are always up-to-date to avoid sending outdated information. To update, open the .oft file (from "Choose Form..." or direct double-click), make your changes, then go to "File" > "Save As", select "Outlook Template (*.oft)" again, and save over the existing file.
- Share Templates with Colleagues: If you work in a team, you can share .oft files with colleagues. They can then save these files into their own Outlook Templates folder on their computer and use them. This ensures consistency across a team's communication. Ensure everyone is using a compatible version of Outlook.
- Pin Frequently Used Templates (Windows): If you find yourself repeatedly using a particular .oft template, you can pin its shortcut to your Windows Taskbar or Start Menu. Navigate to the .oft file in File Explorer, right-click, and choose "Pin to Start" or "Pin to taskbar". This gives you one-click access to open the template directly.
How To Save Email Templates In Outlook FAQ
- Q: Can I include attachments in an Outlook email template (.oft file)?
A: No, Outlook .oft templates do not save attachments. The template will only store the subject, body text, and formatting. You will need to manually attach any files each time you use the template. For recurring attachments, consider including a link to a cloud storage location (like OneDrive or Dropbox) in the template body instead.
- Q: Where are Outlook templates (.oft files) saved by default?
A: By default, Outlook templates are usually saved in a hidden folder within your user profile, typically something like C:\Users\[YourUsername]\Documents\Outlook Templates. When you use "Save As" and select "Outlook Template (*.oft)", Outlook will often suggest this default location.
- Q: How do I edit an existing Outlook template?
A: To edit an existing template, you need to open the actual .oft file. The easiest way is to go to "New Items" > "More Items" > "Choose Form...", select "User Templates in File System," choose your template, and click "Open." Make your changes in the opened email window, then go to "File" > "Save As," select "Outlook Template (*.oft)," and save it with the exact same file name, overwriting the old template.
- Q: Can I use Outlook templates on Outlook for the web (Outlook.com)?
A: The traditional .oft template files created in the desktop Outlook application are not directly supported by Outlook for the web. Outlook.com has a similar feature called "My Templates" (sometimes found under "Quick Steps" or "Responses"), which allows you to create and insert pre-written snippets. These are separate from .oft files.
- Q: What is the difference between an Outlook template (.oft) and a Quick Part?
A: An Outlook template (.oft) saves an entire email message, including the subject line, body text, and formatting, to be used as a starting point for a new email. A Quick Part, on the other hand, is a reusable snippet of text, images, or tables that you can insert into any existing email message. Think of .oft as a complete draft and Quick Part as individual building blocks.
- Q: Can I create a template that automatically sends to specific recipients?
A: While you can save a template with specific recipients in the "To," "Cc," or "Bcc" fields, it's generally not recommended for true templates. Templates are typically designed to be flexible. If you need to send the exact same email to the exact same recipients repeatedly, consider using Outlook's "Quick Steps" feature instead. Quick Steps can automate multiple actions, including sending an email to a predefined list of contacts with a specific subject and body.
- Q: Why is my template opening as a blank email?
A: This usually means the template file itself is empty or corrupted. Try re-creating the template from scratch, making sure you fully compose the content before saving it as an .oft file. Also, ensure you are opening it correctly via "New Items" > "More Items" > "Choose Form..." from the main Outlook window.
Final Checklist for How To Save Email Templates In Outlook
- Outlook Desktop Application Ready: Is Outlook installed and running on your computer?
- Content Drafted: Have you fully composed the subject line, body text, and applied all necessary formatting for your template?
- "Save As" Initiated: Did you click "File" then "Save As" from the open email window?
- Correct File Type Selected: Did you choose "Outlook Template (*.oft)" from the "Save as type" drop-down menu? This is crucial.
- Clear File Name Given: Is your template saved with a descriptive and easy-to-remember name?
- Location Noted: Do you know where your .oft file is saved (preferably in Outlook's default templates folder)?
- Template Tested: Have you opened the template via "New Items" > "More Items" > "Choose Form..." to confirm it works as expected?
- Customisation Confirmed: Do you understand that you need to customise placeholders and add attachments each time you use the template?
What should I check before acting on advice about how to save email templates in outlook?
Use this guide as a starting point, compare current specifications and costs, and check the details that apply to your own situation before making a purchase or booking.
Where can I find related email-communication guidance?
Browse the related guides in this section for practical comparisons, planning notes, and next steps that support the same decision.